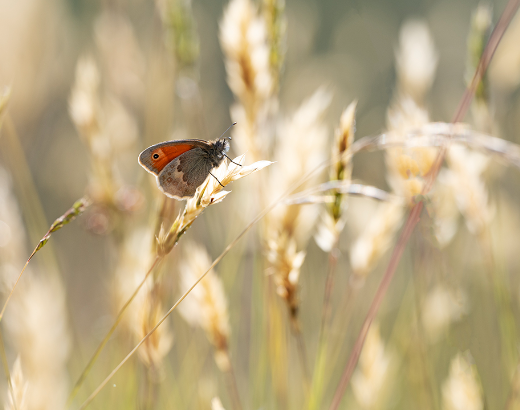
Macro photography is an enchanting way to explore the intricate world of insects, and capturing their textures can elevate your images dramatically. From delicate wings to vibrant exoskeletons, the smallest details can become a stunning focal point in your work. This post will guide you through some essential techniques and tips to enhance your insect macro photography.
1. Understanding Insect Anatomy
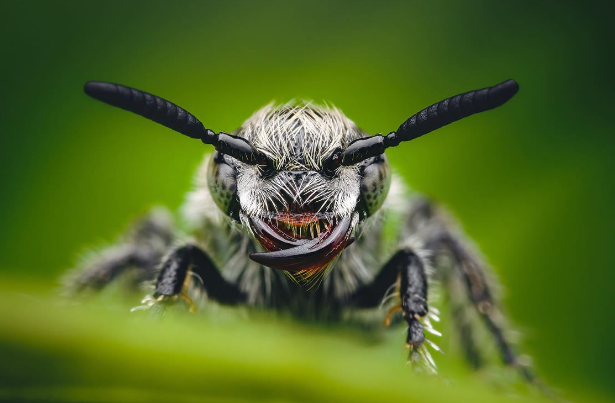
Before diving into macro photography, it is essential to familiarize yourself with the anatomy of insects. Each species has unique textures and structures; for instance, the iridescent wings of a dragonfly or the soft, fur-like surfaces of a moth. Observing these specifics can inform your shooting strategy, helping you plan the angles and lighting needed to showcase their beauty.
Different insects also exhibit varying color patterns and textures influenced by their habitats. For instance, a stick insect would have a rough, bark-like texture, blending seamlessly with its environment, while a butterfly’s smooth, colorful wings possess intricate patterns. Such knowledge enables you to approach your subject mindfully, anticipating how best to highlight their unique features.
-
- Study the insect species before your shoot.
-
- Observe the features that stand out, like colors and textures.
-
- Consider how the insect’s habitat affects its appearance.
-
- Plan your focus based on interesting anatomical features.
2. Mastering Lighting Techniques
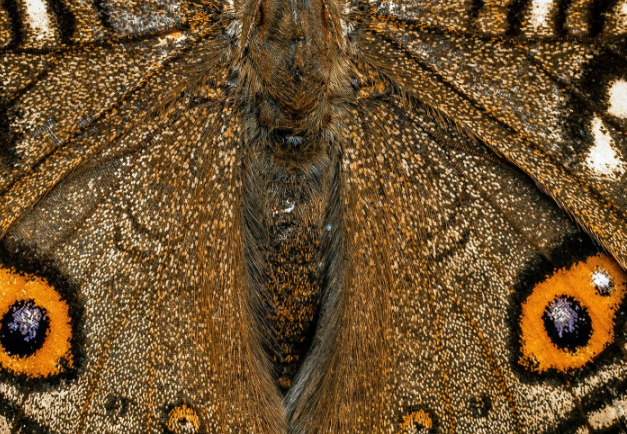
Lighting is one of the most critical aspects of macro photography and can profoundly affect the textures in your images. Natural light can result in beautifully soft, diffused results, while using a flash can create dramatic contrasts and highlighted textures. Experimenting with backlighting can also reveal intricate details, emphasizing the transparency and colors of wings or bodies.
Using reflectors can help direct light precisely where it’s needed, enhancing the textures without introducing harsh shadows. In cloudy weather, the diffused light can add a soft, dreamy effect to your photographs, making it perfect for capturing the more subtle details of an insect’s surface.
-
- Utilize natural light during golden hours for a warm glow.
-
- Experiment with flash, but be cautious of overexposure.
-
- Consider backlighting to add depth and texture.
-
- Use reflectors to manipulate shadows and highlights.
3. Choosing the Right Equipment
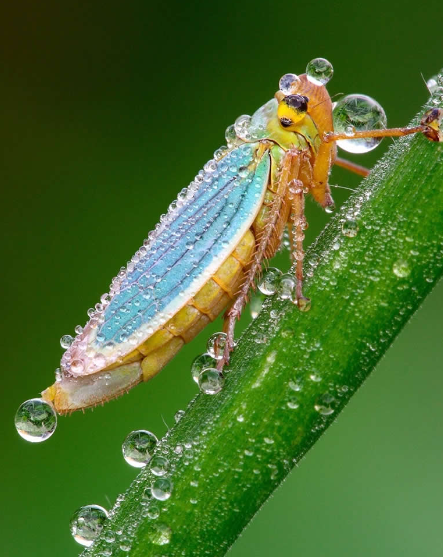
Selecting the appropriate equipment for macro photography can significantly impact your results. A dedicated macro lens allows you to focus on details at a 1:1 ratio or higher, providing a closer look at the insect’s texture. If you’re just starting out, an extension tube can also be a cost-effective alternative that can turn your regular lens into a macro tool.
In addition to the lens, a sturdy tripod is invaluable for macro photography. This reduces camera shake, particularly in low-light conditions or when attempting extreme close-ups. A remote shutter release or using the timer function can further minimize any potential blurriness, ensuring that the finer details of the insect are sharp and clear.
-
- Invest in a quality macro lens for optimal detail.
-
- Consider extension tubes for versatility with existing lenses.
-
- Utilize a tripod to stabilize your camera.
-
- Use remote shutter release to avoid camera shake.
4. Composing Intricate Textures
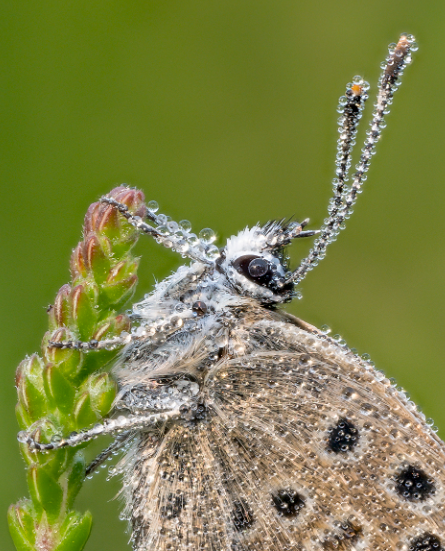
Effective composition plays a vital role in highlighting the textures of insects. Utilizing the rule of thirds can help frame your subject interestingly, drawing attention to the textures and fine details. Consider different angles; sometimes, a shot taken from below or above can reveal textures that would otherwise go unnoticed.
Additionally, the background can make or break your composition. Use solid colors or blurred backgrounds to help the insect’s details stand out. A cluttered backdrop might distract from the beauty of your subject, so strive for simplicity that enhances, rather than detracts, from the intricate textures you wish to capture.
-
- Apply the rule of thirds for balanced composition.
-
- Experiment with various angles for unique perspectives.
-
- Use simple backgrounds to emphasize your subject.
-
- Try to include leading lines to draw the viewer’s eye to the insect.
5. Post-Processing Techniques
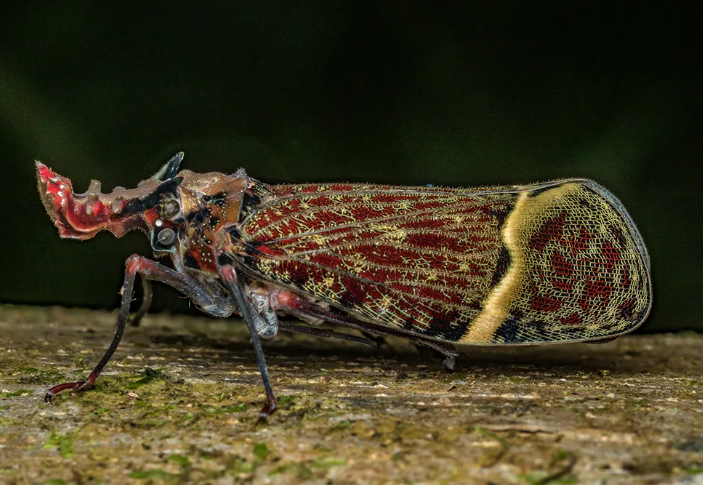
Post-processing is a critical stage that can further highlight the textures in your macro photographs. Software like Adobe Lightroom or Photoshop allows you to adjust exposure, contrast, and sharpening to bring out the fine details. Both programs offer tools to enhance color vibrancy and clarity, giving your images a professional touch.
Moreover, experimenting with different filters and effects can help in fine-tuning the details. For instance, using high-pass sharpening can accentuate the textures, making scales and patterns pop. Just be cautious; over-processing may give your images an unnatural look, diminishing the beauty of the intricate textures you’ve worked so hard to capture.
-
- Use software like Lightroom or Photoshop for editing.
-
- Adjust exposure and contrast to enhance details.
-
- Experiment with high-pass sharpening for texture emphasis.
-
- Avoid over-processing; aim for a natural look.
Insect macro photography is an exciting venture that allows you to explore and showcase the beauty of these small creatures in detail. By understanding insect anatomy, mastering lighting, selecting the right equipment, composing effectively, and utilizing post-processing techniques, you can capture stunning images filled with rich textures. Embrace the adventure, and let the tiny world of insects inspire your photography journey!