
Photographing insects in low light macro conditions can be a challenging, yet rewarding experience. The intricate details of these tiny creatures come alive under the right conditions, making it essential to master specific techniques and equip yourself with the right tools.
1. Understanding Your Gear
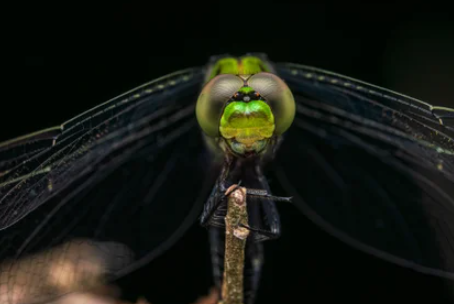
Choosing the right camera and lens is fundamental to succeeding in low light macro photography. Ideally, you want a camera that performs well in low-light conditions, such as those with larger sensors (full-frame or APS-C) which generally produce less noise and better clarity. A dedicated macro lens, typically in the 90mm to 105mm range, will allow you to capture the fine details of insects without getting excessively close, which might scare them away.
Don’t overlook the importance of a sturdy tripod. With low light conditions, camera shake can easily ruin your shots due to slower shutter speeds. A solid tripod offers stability, allowing you to take longer exposures if necessary. Make sure to choose one that can easily handle your camera’s weight and adjust to the height needed to capture different insects.
-
- Invest in a full-frame or APS-C camera.
-
- Choose a dedicated macro lens of 90mm to 105mm.
-
- Utilize a sturdy tripod for stabilization.
-
- Consider a remote trigger for reducing camera shake.
-
- Check and update your gear regularly.
2. Mastering Your Settings
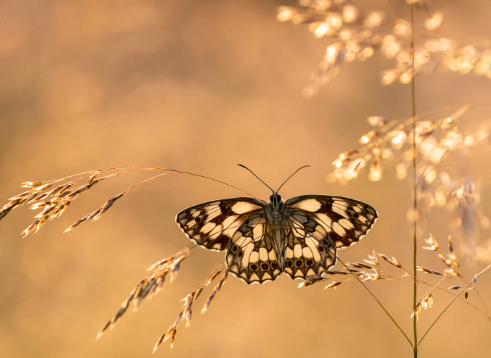
In low light, manual settings become your best friends. Set your camera to manual mode and adjust the ISO, aperture, and shutter speed to achieve optimal results. Start with a low ISO setting (between 100 and 400) to minimize noise. An aperture of f/8 to f/16 usually provides sufficient depth of field to keep both the insect and the background in focus.
Your shutter speed can be tricky in low light; start at 1/60 seconds and adjust based on the lighting conditions. However, if you’re using a tripod, you can afford to slow down even more. Utilize your camera’s exposure histogram to make decisions, as it will help ensure you’re not overexposing or underexposing your images.
-
- Use manual mode for better control.
-
- Keep ISO between 100-400 for less noise.
-
- Set aperture to f/8 to f/16 for a nice depth of field.
-
- Start shutter speed at 1/60 seconds; adjust as needed.
-
- Utilize the exposure histogram for adjustments.
3. Utilizing Light Sources
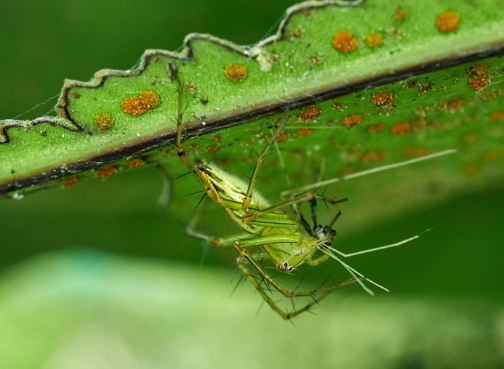
Natural light can be unpredictable, especially at dusk or dawn when photographing insects. Therefore, consider bringing along extraneous light sources like LED panels or a portable flash. Using a diffuser with your flash can help soften shadows and create more natural-looking light that won’t scare away your subjects.
Alternatively, you can also utilize reflectors to bounce available light onto your insect without the harshness of direct flash. If using natural light, aim to shoot during the golden hour when the light is softer and warmer, making your images more visually appealing. Pay attention to the angle of your light source, as this can create interesting shadows and highlights that will enhance the texture and details of your photos.
-
- Bring portable LED panels for added light.
-
- Use a diffuser with your flash for softer lighting.
-
- Utilize reflectors to bounce light naturally.
-
- Shoot during the golden hour for optimal lighting.
-
- Experiment with different angles of light.
4. Timing and Patience Are Key
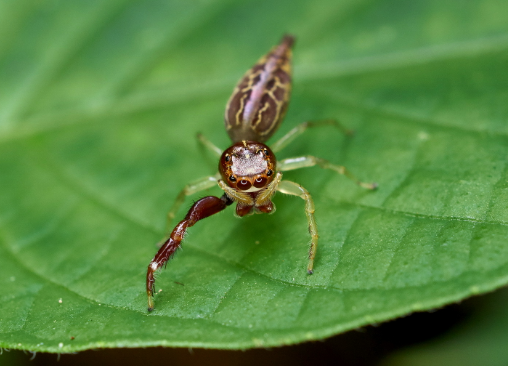
To be successful in insect photography, you need both timing and patience. Many insects are most active early in the morning or late in the evening, when they are more likely to be seen. Arriving at your location just before dawn or staying until the last light of dusk can yield stunning results as insects move more slowly, making them easier to photograph.
Don’t hesitate to spend time observing your subject before you start clicking away. Understanding the insect’s behavior can lead to more natural and interesting compositions. Wait for the right moment when they are poised perfectly, whether that’s feeding, resting, or interacting with their environment. This patience can make all the difference in your final image.
-
- Arrive early or stay late for optimal insect activity.
-
- Observe the insect for a while before shooting.
-
- Look for unique interactions to capture.
-
- Practice patience; the perfect shot takes time.
-
- Be prepared to adjust settings quickly as conditions change.
Photographing insects in low light macro conditions may seem daunting at first, but with the right knowledge and tools, it can be incredibly fulfilling. Start practicing these techniques today and you may find yourself capturing incredible photos that showcase the beauty and intricacy of the insect world. Don’t hesitate to dive in and enjoy the process—each click brings you one step closer to mastery!