
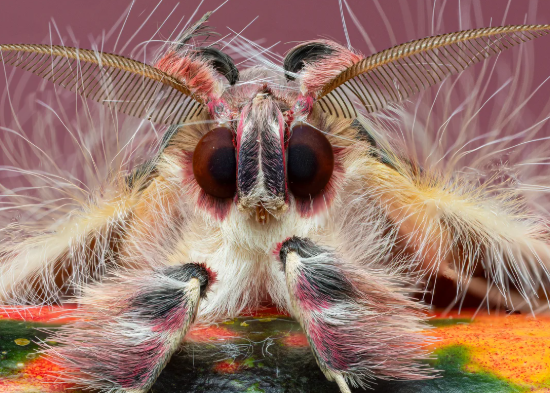
Macro photography of insects is a captivating art form that combines scientific observation with creative composition. This unique niche allows photographers to explore the intricate details of the insect world, showcasing their beauty and diversity in ways that the naked eye often misses. Let’s dive into the world of macro insect photography, focusing on techniques and artistic composition.
1. Understanding Your Equipment
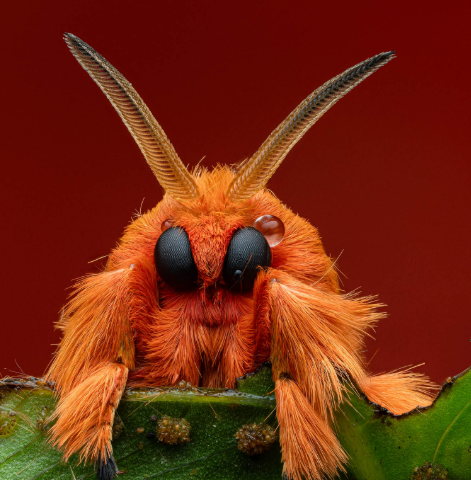
To embark on macro photography, the right equipment is essential. A dedicated macro lens allows for capturing intricate details from close distances; typical lenses provide inadequate magnification for true macro shots. If you’re starting out, consider using a lens with a 1:1 magnification ratio, ensuring that the subject size in the frame matches its real-life dimensions.
In addition to the lens, a tripod is fundamental for stability since macro shots often require slower shutter speeds to capture fine details without blurriness. Pairing your camera with extension tubes can also help achieve closer shots while retaining image quality. Remember, the key is to find a balance between magnification and depth of field.
-
- Choose a macro lens with a 1:1 or greater magnification ratio.
-
- Use a tripod to stabilize your shots.
-
- Consider extension tubes for additional magnification.
-
- Experiment with different lighting sources to enhance details.
-
- Protect your equipment with weather-resistant gear for outdoor shooting.
2. Mastering Lighting Techniques
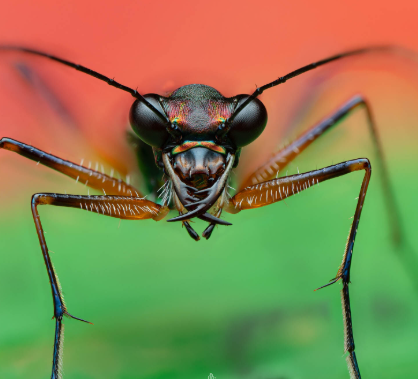
Lighting plays a crucial role in macro photography, especially when documenting the minute details on an insect’s body. Natural light is often soft and flattering but can be unpredictable. Ideally, shoot during golden hours—shortly after sunrise or before sunset—when the light is warm and diffuse, creating a beautiful atmosphere.
Alternatively, artificial lighting like ring lights or flash can illuminate details dramatically. Using diffusers softens harsh light and reduces shadows, enhancing the texture and color of your subject. Remember to experiment with different angles and light sources to see how they interact with the intricate forms of insects.
-
- Utilize natural light during golden hours for soft illumination.
-
- Experiment with artificial lighting setups like ring lights.
-
- Use diffusers to soften harsh shadows.
-
- Observe how light interacts with your subject from various angles.
-
- Consider reflectors to bounce light onto details in shadows.
3. Composing Artistic Shots
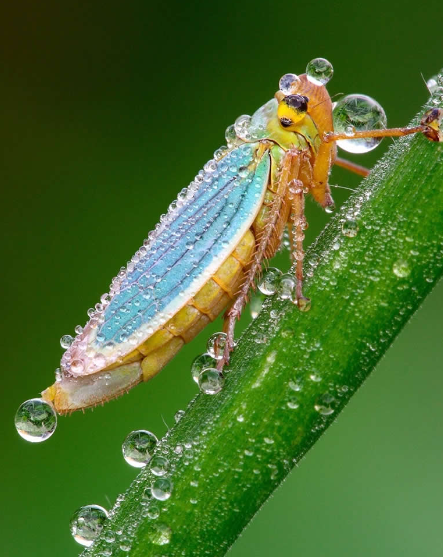
Artistic composition is vital in macro photography, creating engaging and visually appealing images. Before snapping your photo, consider the rule of thirds. This guideline suggests placing your subject off-center to draw the viewer’s eye and create a balanced photo. Pay attention to backgrounds; a calm and unobtrusive backdrop can enhance the beauty of the insect.
Additionally, framing your subject with elements from the environment can add context and depth to your photographs. Encourage viewers to connect with the insect’s habitat by including foliage, flowers, or other elements. Don’t shy away from experimenting with different angles and perspectives; sometimes shooting from below or above can lead to stunning results.
-
- Apply the rule of thirds for balanced compositions.
-
- Choose a simple, non-distracting background.
-
- Include environmental elements to add context.
-
- Experiment with various angles for creative perspectives.
-
- Frame your subject well to evoke a sense of immersion.
4. Practice Patience and Observation
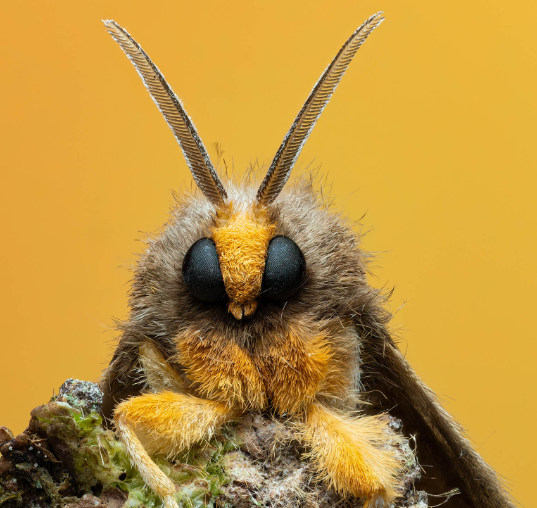
Macro photography requires patience and keen observation. Insects often take time to settle in one position, so it’s crucial to remain still and quiet. Use this waiting time to closely observe their behaviors, which may lead to more dynamic and interesting shots. For instance, catching a dragonfly mid-flight or an ant carrying food can tell compelling stories through imagery.
Furthermore, understanding the insect’s habitat and behaviors allows you to anticipate their movements and capture them at the perfect moment. Frequent visits to the same location can build rapport, as you’ll become familiar with the flora and fauna in the area, sharpening your skills with practice.
-
- Be patient while waiting for your subject to pose naturally.
-
- Observe insect behaviors to forecast movements.
-
- Visit locations regularly to gain familiarity with subjects.
-
- Create a shot list based on insects’ daily routines.
5. Post-Processing for Impact
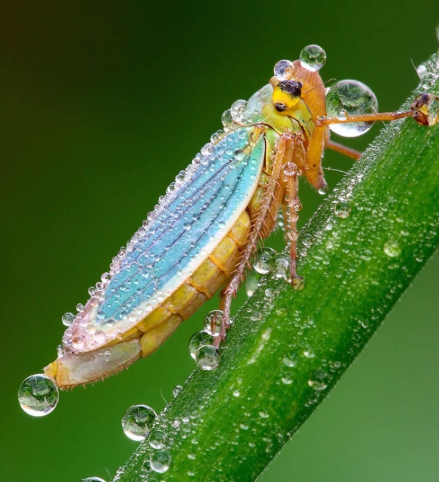
After capturing your images, post-processing can enhance their overall impact. Software like Adobe Lightroom or Photoshop offers tools for fine-tuning exposure, contrast, and color saturation, allowing you to achieve your artistic vision. Begin with basic adjustments, then experiment with sharpening details to emphasize textures. However, aim for a natural look; over-processing can detract from the beauty of your photography.
Consider creating different versions of your photos to analyze how adjustments affect the composition. Some photographs benefit from subtle color grading, while others may look better in black and white, highlighting the textures and forms of the insect. This exploration can provide new insights into your creative expression.
-
- Use software to enhance exposure and contrast.
-
- Experiment with sharpening to emphasize fine details.
-
- Avoid over-processing to maintain natural feel.
-
- Create multiple versions to explore different styles.
In conclusion, macro photography of insects is a rewarding endeavor that merges art with science. By mastering your equipment, lighting, composition, patience, and post-processing techniques, you can create stunning images that showcase the delicate beauty of the insect world. So grab your camera and start exploring this fascinating niche of photography today!