
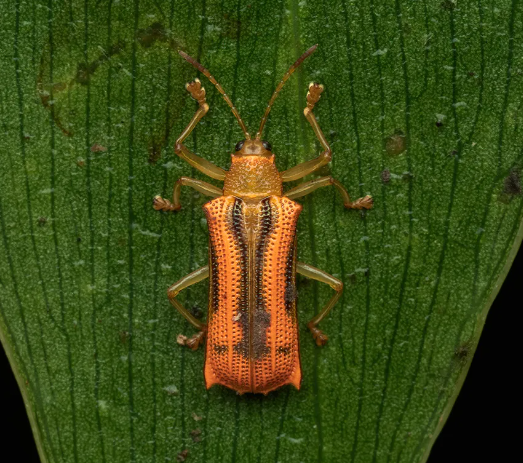
Capturing insects in macro photography offers enthusiasts a unique opportunity to explore the intricate details of nature. With the right techniques and equipment, you can reveal stunning textures and colors that are often overlooked. Let’s delve into the essential steps you need to take to achieve those fine texture details when photographing insects.
1. Gear Up: Choosing Your Equipment
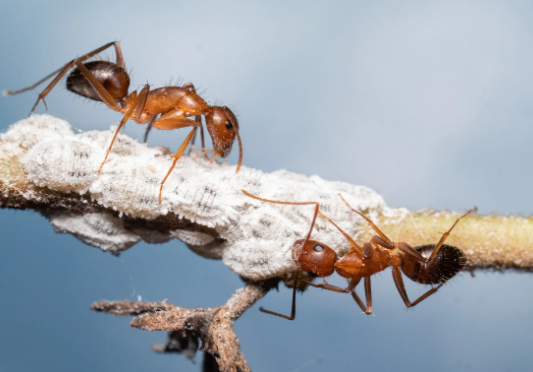
Selecting the right equipment is crucial for macro photography. A dedicated macro lens, typically with a 100mm focal length, enables you to focus closely on small subjects while maintaining sharpness and clarity. Additionally, using a tripod or a stabilizer helps eliminate camera shake, which is especially important when working with such fine details.
Don’t forget about lighting. Natural light can be perfect, but the use of artificial light sources, such as ring flashes or LED panels, can help highlight textures that might be shadowed in natural light. Experimenting with different types of lighting can significantly change the look of your photos.
-
- Invest in a macro lens for better detailing.
-
- Use a tripod to minimize movement.
-
- Experiment with different light sources.
-
- Consider using a remote shutter release.
-
- Keep your equipment clean to avoid unwanted dust spots.
2. Finding the Perfect Environment
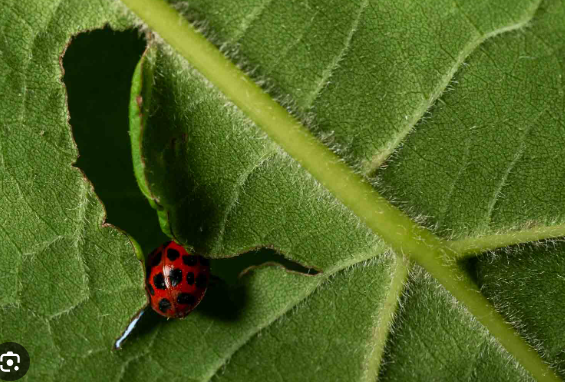
Insects are often found in diverse habitats, so choosing the right environment is vital for successful macro photography. Gardens, forests, and wetlands are excellent locations to observe a variety of species. Pay close attention to the time of day, as many insects are more active during the early morning or late afternoon when the light is softer and more flattering.
Consider the season as well; certain insects may only be available during specific times of the year. Research local species and their behaviors to find the best spots and times. Additionally, avoiding windy days can help keep your subjects still for those detailed shots.
-
- Identify local habitats where insects thrive.
-
- Visit during early morning or late afternoon.
-
- Research insect behaviors and seasonal availability.
-
- Keep an eye on the weather for calm days.
-
- Be patient and observant; insects often hide.
3. Mastering the Art of Composition
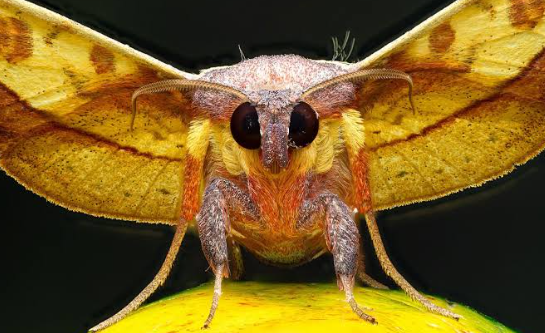
When photographing insects up close, composition plays an essential role in capturing their beauty. Use the rule of thirds to create visually appealing images. For instance, position the insect’s eye or unique features along intersecting lines to draw the viewer’s attention. Background elements are equally important; a simple background can make your subject stand out.
When framing your shot, consider the angle. Shooting from different perspectives can reveal unexpected textures and details. Getting low to the insect’s level often renders a more intimate and engaging photograph. Try experimenting with various angles until you find the one that showcases the insect best.
-
- Use the rule of thirds for balanced shots.
-
- Experiment with different angles and perspectives.
-
- Look for simple backgrounds to enhance your subject.
-
- Frame the shot to highlight unique features of the insect.
-
- Focus on the eyes; they can tell a story.
4. Fine-Tuning Your Camera Settings
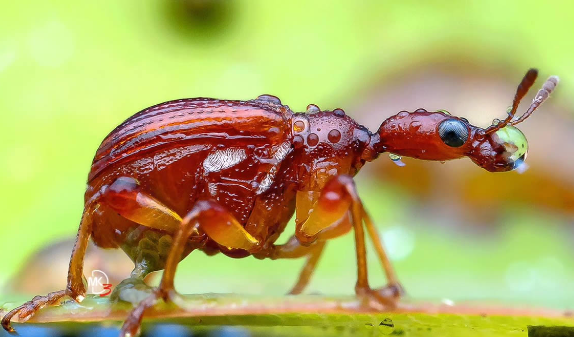
Understanding your camera settings is vital for macro photography. Set your aperture to a moderate f-stop (usually f/8 to f/16) to achieve a decent depth of field while still maintaining sharpness in the details. A higher shutter speed (1/200 or faster) can help freeze the action, especially if your subject is in motion.
Utilizing manual mode will allow for greater control over your settings. If using natural light, adjusting the ISO can help manage exposure without losing quality. Always remember to check your histogram to ensure you are not overexposing or underexposing your image.
-
- Use a moderate f-stop (f/8 to f/16) for depth.
-
- Set a high shutter speed to freeze the moment.
-
- Experiment with ISO to optimize exposure.
-
- Utilize manual mode for greater control.
-
- Regularly check your histogram for exposure accuracy.
5. Post-Processing Your Images
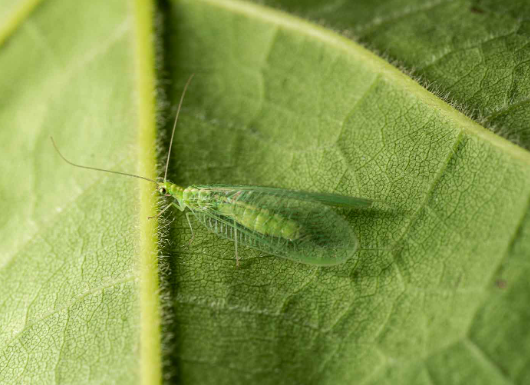
Post-processing is the final step to ensure your macro photos shine. Software like Adobe Lightroom or Photoshop can enhance details and correct colors. Use sharpening tools to highlight textures, but be careful not to overdo it, as this can introduce noise.
Consider cropping your image to enhance composition further, focusing on the insect’s details and eliminating distracting elements. Adjusting the contrast and saturation can bring your image to life, making those textures pop in a way that catches the viewer’s attention.
-
- Use editing software for enhancements.
-
- Be cautious with sharpening; too much can ruin details.
-
- Crop thoughtfully to improve composition.
-
- Adjust contrast and saturation for vibrant images.
-
- Save your images in high resolution for printing.
In conclusion, capturing the intricate details of insects through macro photography opens up a fascinating world of texture and color. By selecting the right equipment, finding suitable environments, mastering composition, fine-tuning camera settings, and utilizing post-processing techniques, you can create stunning images that showcase the beauty of the insect world. So grab your gear and start exploring—who knows what incredible details await!