
Macro photography of insects offers a fascinating glimpse into the intricate details of the natural world. Using a smooth background elevates these tiny creatures, allowing their unique features to stand out beautifully. In this blog post, we will explore techniques and tips for capturing stunning insects with soft, unobtrusive backgrounds.
1. Understanding the Importance of Background
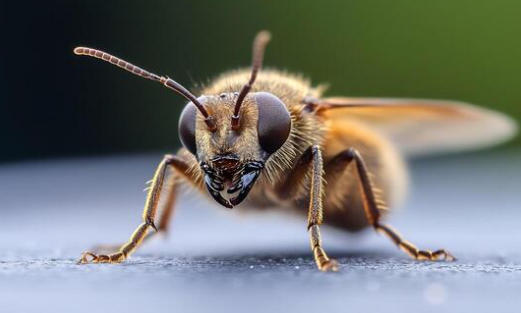
The background in macro photography plays a crucial role in the composition and overall impact of the image. A smooth or blurred background can significantly enhance the focus on the insect, creating a more aesthetic and engaging photograph. This is particularly important when working with colorful insects, as a plain background emphasizes their vibrant hues without competing for attention.
To achieve a smooth background, it’s vital to select the right aperture and focal length. Using a wide aperture (like f/2.8 or f/4) generates a shallow depth of field, effectively blurring out the surrounding elements. Moreover, experimenting with different distances between your subject and background can amplify this effect, creating that sought-after bokeh look.
-
- Choose a wide aperture for a shallow depth of field.
-
- Increase the distance between your insect and the background.
-
- Maintain a clean background by minimizing distractions.
-
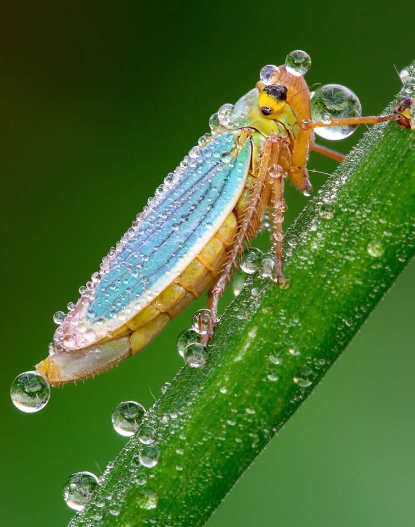
- Consider natural backdrops like foliage or water surfaces.
2. Lighting Techniques for Macro Photography
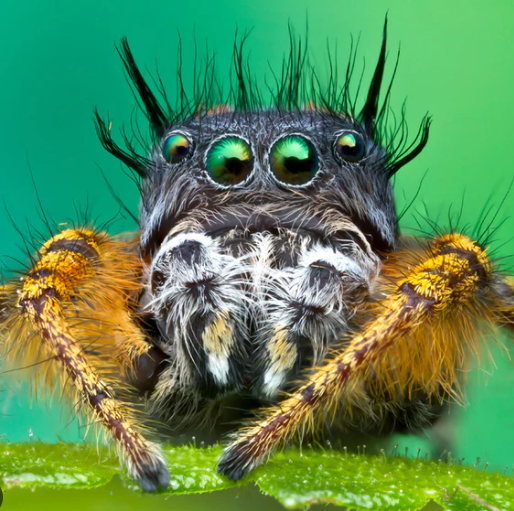
Natural light can beautifully illuminate insects, showcasing their textures and colors vividly. Early mornings or late afternoons provide the softest light, which is ideal for macro photography. However, when natural light is insufficient or inconsistent, additional lighting techniques such as diffused flash or ring lights can fill in shadows and provide even illumination.
When using artificial lights, it’s important to diffuse the light source to avoid harsh shadows and reflections. Using a softbox or a simple piece of white cloth can make a significant difference in the quality of light. Experimenting with angles and distances will help you find the optimal lighting setup for capturing your subject.
-
- Shoot during golden hours (early morning or late afternoon).
-
- Use diffused artificial lighting when necessary.
-
- Experiment with angles to find the best light direction.
-
- Look for reflections and shadows that enhance the image.
3. Choosing the Right Equipment
The equipment used for macro photography has a tremendous impact on the final result. A dedicated macro lens allows for close focusing and higher image quality, making it easier to capture fine details. Alternatively, you can use extension tubes as a less expensive option to transform standard lenses into macro-capable ones.
Moreover, a sturdy tripod is beneficial for stability, especially at high magnifications where even slight movements can lead to blurry images. Remote shutter releases can also be invaluable, allowing you to capture images without tactile impact, further minimizing camera shake.
-
- Invest in a dedicated macro lens for best results.
-
- Consider extension tubes as an affordable alternative.
-
- Use a tripod for stability during close-ups.
-
- Employ a remote shutter release to avoid camera shake.
4. Composition Techniques in Macro Photography

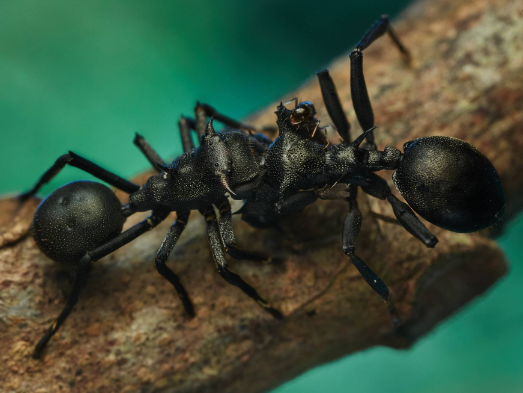
Beyond technical settings, composition influences how viewers engage with your macro photographs. Start by following the rule of thirds, placing your subject off-center to create a more dynamic image. Incorporating leading lines or contrasting colors can further draw attention to the insect while keeping the background smooth and unobtrusive.
Moreover, experimenting with various angles can provide unique perspectives; shooting from below or at eye level can reveal aspects of the insect typically overlooked. Patience is crucial, as small movements while composing the shot can lead to the perfect framing that captivates viewers.
-
- Use the rule of thirds for a balanced composition.
-
- Experiment with angles for unique perspectives.
-
- Incorporate leading lines that guide the eye to the subject.
-
- Be patient, waiting for the ideal moment for capture.
5. Editing Techniques and Post-Processing

Editing is an essential part of the macro photography process, allowing you to enhance colors, contrast, and sharpness. Starting with a raw file provides more flexibility during post-processing, helping you achieve the desired final result without losing quality. Basic edits often include adjusting exposure, enhancing vibrancy, and sharpening the image for better details.
Software tools such as Adobe Lightroom or Photoshop can be beneficial here, allowing you to selectively edit different areas of your image. Paying special attention to the background during editing can help maintain its smoothness while enhancing the insect’s features, creating a striking final photograph.
-
- Use raw files for better editing flexibility.
-
- Adjust exposure and vibrancy for enhanced colors.
-
- Sharpen details selectively, focusing on the insect.
-
- Ensure the background remains smooth in editing.
Macro photography of insects with smooth backgrounds can reveal breathtaking details that many overlook. With the right techniques in background, lighting, equipment, composition, and editing, you can transform simple images into captivating works of art. Get out there, experiment, and capture the hidden beauty of the insect world!